Preparing your portable studio is pretty easy and does not need to weigh a ton or be half the size of you. Firstly get your self a hardcover sketchbook, the hardcover will act as a drawing board and protect your drawings from becoming tattered or ruined. You will also need a pencil case to carry all your drawing equipment in like pencils, erasers etc. A really good suggestion that the book makes is that if you want to work in other mediums i.e. charcoal, that are a bit messy, be sure to pack in some wet wipes and paper towels for a bit of a clean up afterwards.
Next if you will be drawing in a public place, take your iPod or a similar device with, having your music with you will block out the distractions around you but also keep nosey people at a distance as most times the don’t approach you if they see earphones in your ears. An extra tip if you prefer to draw on sheets of paper as apposed to a sketchbook, you will need to get a drawing board (you can even make one with ply wood yourself) and clips to hold your paper to your board.
No matter where you go you will find things to draw, weather it be at your local pub, cafe’ or at a bird park near by, find a place where you are comfortable and happy to sit for a few hours and draw. Now there is a technique to being able to capture your subject because most times they don’t just sit still and wait for you to finish. There are two techniques that the book identifies with, a rough sketch and a gesture. A rough sketch and I quote “Quickly and efficiently illustrates the forms, shapes, and/or values of any scene, object or living being, with very few details. A gesture “uses simple sketching methods to capture the past, present or potential movement of living beings” Keep in mind though that even these techniques take time and practice to master.
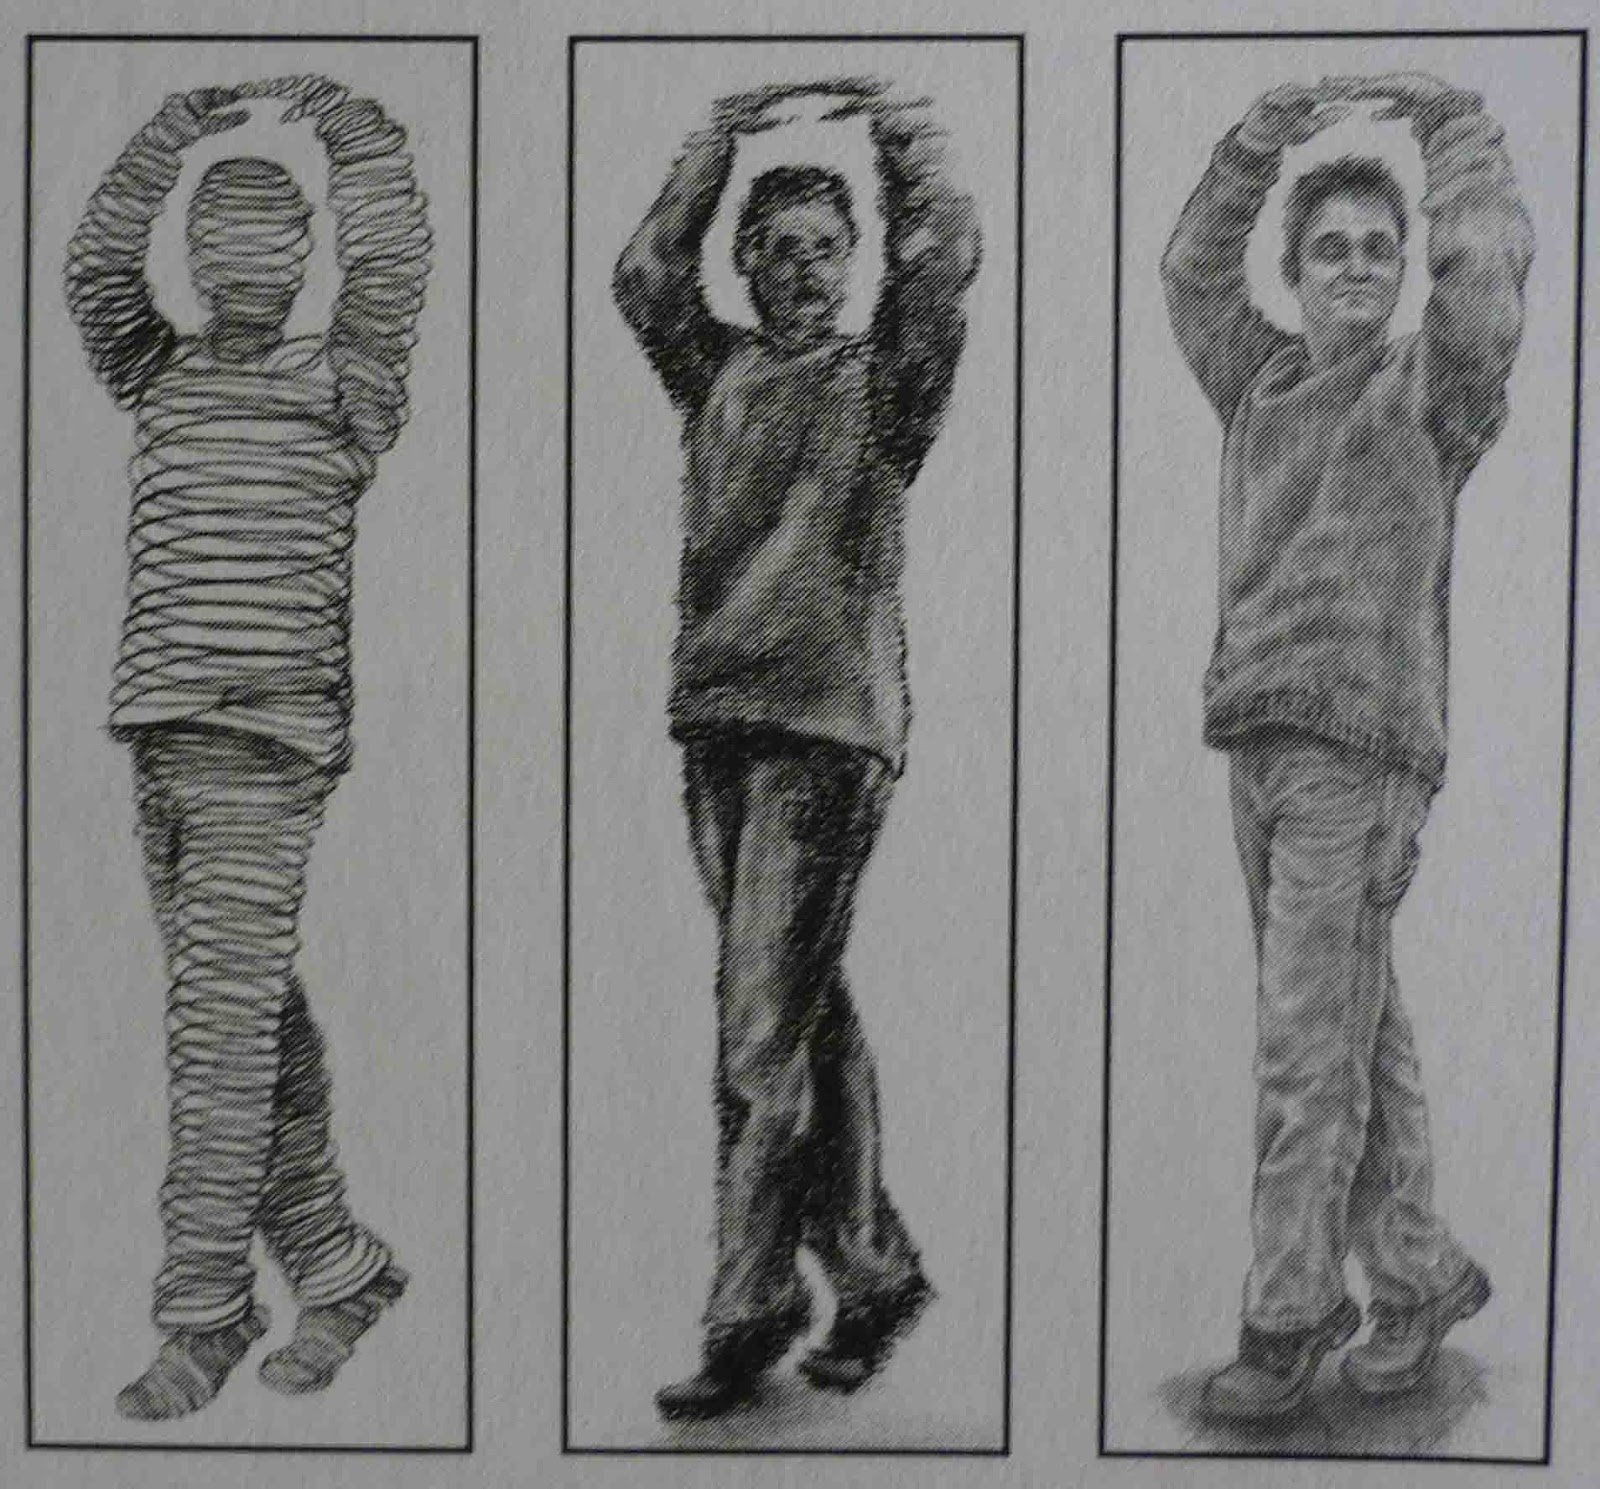
Sketching your subject with simple lines becomes the key focus when trying to capture objects/subjects that are always changing. With only a few strategically placed lines you can capture the information quickly and effectively (two words that are popping up all over the place). Below are a few images that demonstrate what is meant by just a few simple lines.

Once you’ve captures your subject with a few lines next you need to add a a bit of shading, a few rough hatching lines to fill in the shadows and mid colour ranges will be perfect. Again below are a few pictures that demonstrate this, not to sure if they can even be considered rough but alas maybe one day mine will look like this too.

The book assures me that developing you own sketching style will happen over time and takes practice and the method I chose is entirely up to personal preference. It encourages me to try many different styles, just lines, lines and shading, just shading or a techniques known as spiraling.
In order to practice your sketching, both in technique and time, there is a exercise you can do. You’ll need a timer for this one and all your drawing goodies. You start with one minute sketches and work your way up to a five minute sketch, each time the timer goes grab a new piece of paper and subject or just change the angle of the subject your already drawing. Remember to look at your subject often as your drawing, work quickly but most importantly efficiently (Again with those words - I'm definitely starting to see a trend). Start with non-living subjects until your skill has been refined a little and then move on to living subjects.
Project 11: Teddy Tink.
Can I just start off by saying that this is by far the best sketch I have ever produced, I’m so chuffed with myself I think I might just frame it! I'm holding out hope that this book/ Brenda Hoddinott really can teach you to draw.
Project 11 takes you through the steps of drawing a teddy bear. Starting with just your outlines and slowly building up on that. For my sketch I used a 2H for the lighter fur, and 2B for the darker bits and a 6B for the eyes. Remember to add in your highlights as you drawing so to keep them white - I struggled a little with this but all in all I think it turned out OK!
 |
| Step One: The outlines |
 |
| Step Two: Defining the shape |
 |
| Starting with the fur |
 |
| Adding the finishing touches |
 |
| My Teddy!! Not quite the same in size but that's OK, aren't we all a little different. |
(Please note: that photo examples are taken from "Drawing for Dummies by Brenda Hoddinott'' and the above views are not representative of her and are purely based on a 3rd party view being Me! All snippets taken directly from the book are stated as been so)
No comments:
Post a Comment